Creating a custom Sitecore field validator in twenty minutes
At work I’ve been working with Sitecore a lot more, and while there are a lot of blog posts and articles about a large variety of things to do with the CMS, one road bump I came up to was creation of a validator, so I figured why not document what I did to help others in future.
First off it’s obviously a case of deciding what exactly you need to validate. Here at Building Blocks we needed a validator that would warn the user if they gave the wrong type of image to a specific control. Namely we had a type of control that should only really take SVG files so that it can be displayed well at any resolution. Hopefully though this post should give a good idea of how to validate pretty much anything that you can validate through sitecore.
So where do we start in creating a validator? There are a few good resources for getting a good idea of what a validator can and can’t do, such as the always very useful Launch Sitecore but in terms of steps, let’s create the sitecore side first.
In Sitecore
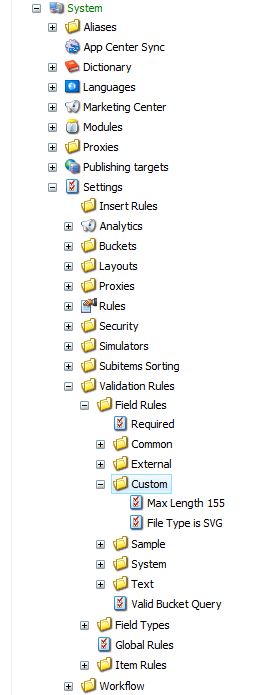
Log in and expand out the content tree (pictured) till you see the section for validators, and let’s create a folder for our validator. I chose the name ‘Custom’ but it doesn’t really matter what you put here, just name it something that will let others know that it didn’t come as standard with sitecore, in case they want to move it or package it for a different environment.
Then add the Field Validator by adding an item of the correct type (Validation Rule) to the folder and set it up as follows in the below screenshot:

Note the Type field in particular, as this is where you will create the code component of the validator, for namespace and package.
Then it’s a case of actually adding it to a field that we want it displayed upon.
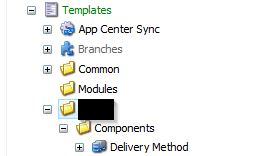
To do this find the Item that you want to validate a field of (Folder name hidden to protect the innocent):
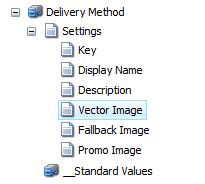
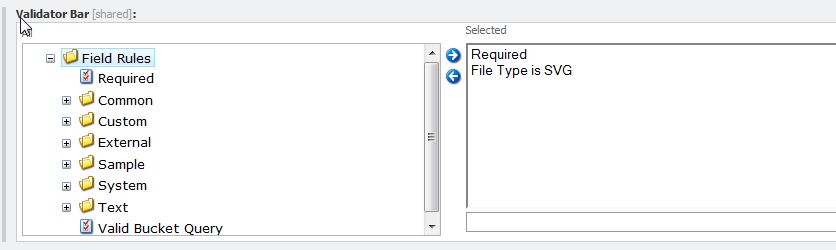
add the field if not already present and expand it in the content tree to view the field itself. From here add the validator to the section you want, in this case I’ve chosen the validation bar so that it’s displayed on the side. Here’s a quick example:
In Code
So in the corresponding project for your Sitecore site, add a class where we specified earlier in Sitecore and make it extend StandardValidator from the Sitecore namespace.
After this it’s just a case of overriding the Evaluate method that Sitecore gives you to validate your rules. My example is shown here and it’s a pretty simple one:
As you can see we take in the parameter that we passed in from sitecore earlier, and use it to validate the item.
We grab the item by parsing the ControlValidationValue with a quick regex to get the ID of the item, then load it from the database.
This is done by pulling the item itself from the database it’s present in so that we can validate the field, which in this case is a MediaItem so that we can grab the extension directly for a comparison.
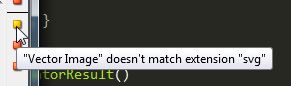
After we have the item, it’s a pretty quick check to see if our item is valid, and if not, set the Text of the warning to display and return it to the user.
Once your code is deployed to the site, you have yourself a fully functioning validator!